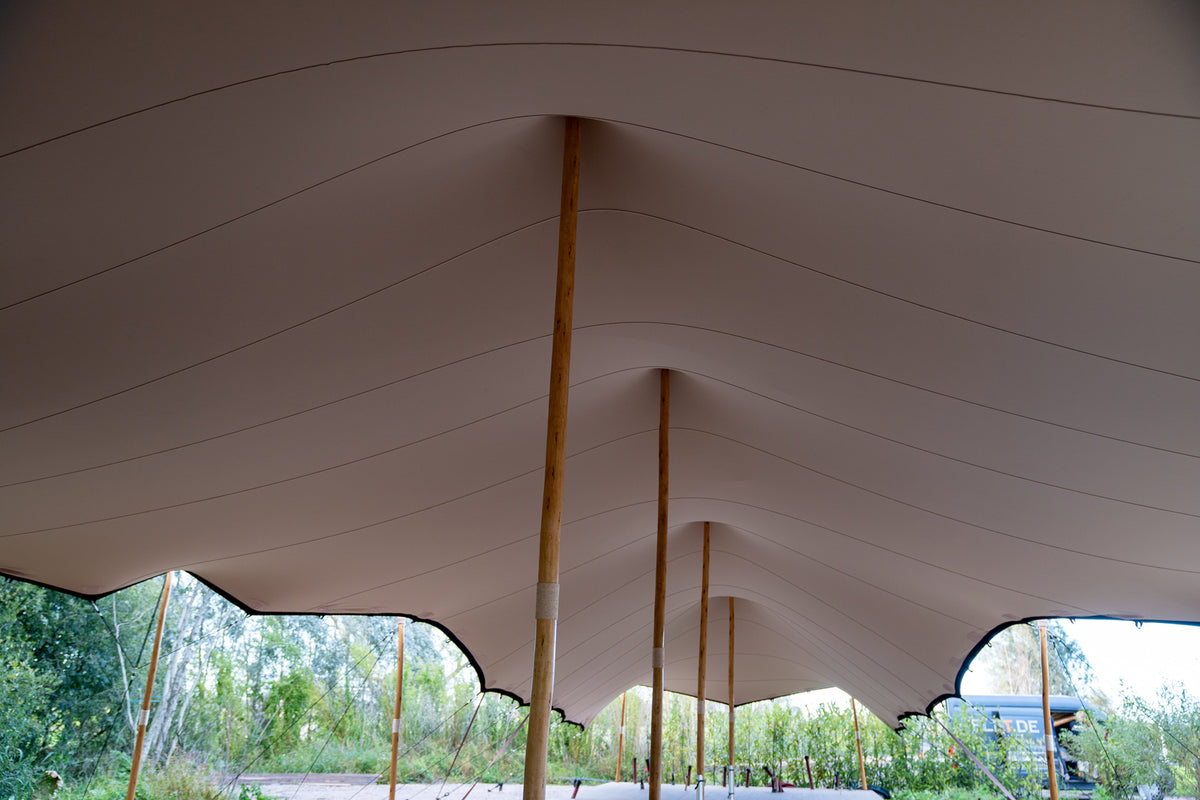
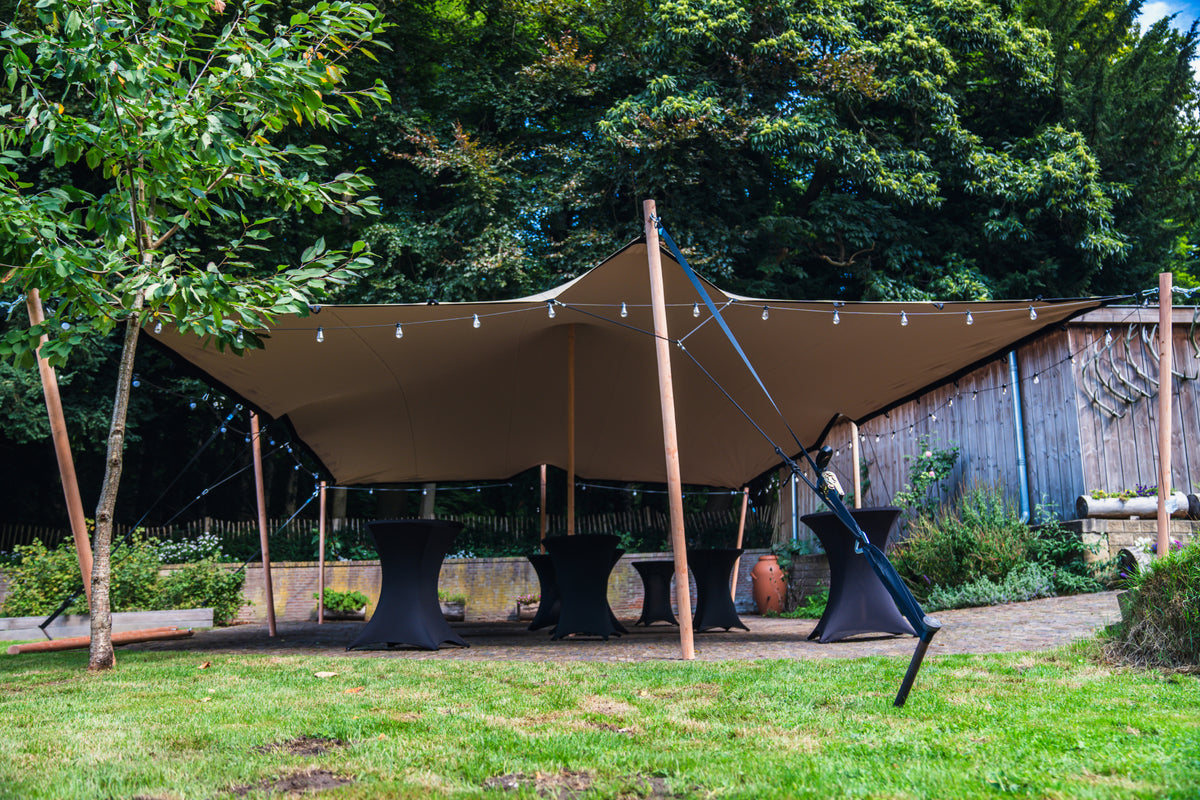
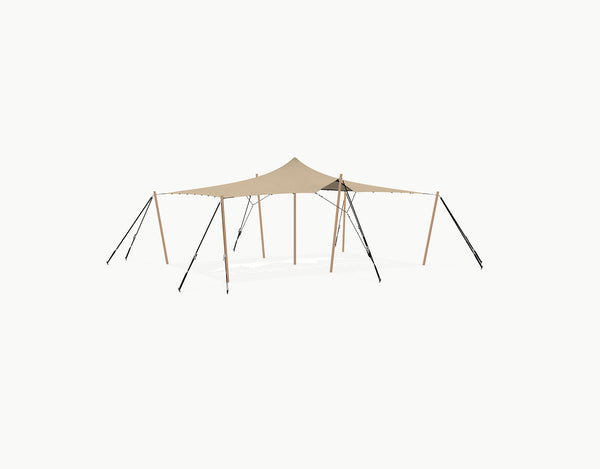
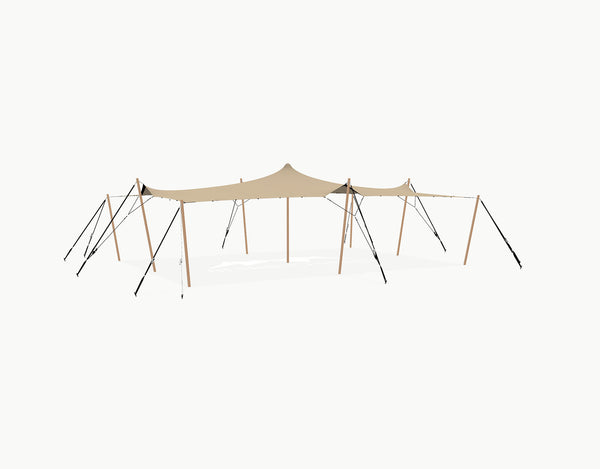
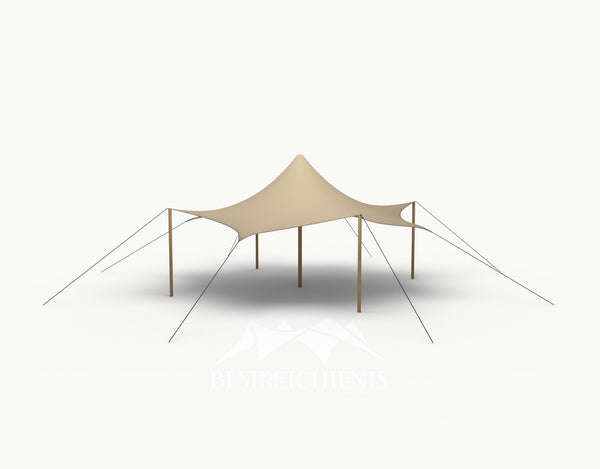
Setting up a stretch tent takes a team of two to three people, the poles, straps and ground anchors from the complete set, and a fixed order: fabric first, then poles and anchors, then the corner posts, side posts and centre poles, and only at the end the final tension. This guide follows the twelve steps of the BT Stretchtents instruction video. Always also read the construction manual that comes with your set: it gives the number of ground anchors per anchoring point and the maximum wind load for your tent.
Prefer to watch? The instruction video shows every step (5½ minutes, English subtitles).
What you need
- A complete stretch tent set: the canvas, side poles and centre poles, tension straps with ratchet, ground anchors, a centre pole cap and carabiners.
- A groundsheet to lay the canvas on.
- The V-rope set for the side poles and a base plate for each centre pole.
- A pole lifter for the centre poles, and for long-term installations a storm strap set.
- Two to three people.
Step 1: Prepare the site
Choose a flat, stable surface without obstacles. Keep enough space around the tent for the ground anchors and the tensioning: as a rule, keep as much clearance as the pole is high. For a 2 m pole that is 2 m, for a 3 m pole 3 m. Always use a groundsheet when setting up and taking down the tent; it prevents dirt and damage to the fabric. Lay the groundsheet where the tent will stand.
Step 2: Lay out the fabric
Place the bag with the canvas in the centre of the groundsheet. Unroll the canvas completely and check that the coated side faces upwards. Align the fabric with the setup you want. If you use storm straps, position them now: that is easiest before the poles go up.
Step 3: Position the poles
First lay all poles around the fabric before you fix anything. The shortest poles go to the four corners. Distribute the side poles evenly along the edges. Attach the corner poles to the loops in the fabric with carabiners, but do not attach the other poles yet. Fit the V-rope set to the left and right of each side pole; you will use these later for the roof peaks.
Place each pole in the direction of its anchor point. This automatically gives the right distance, and an angle of about 45 degrees between the tension strap and the ground. Do not raise the poles yet.
Step 4: Place the ground anchors
Drive the ground anchors in at the positions you have just set out. The head of each anchor should stick out slightly above the ground. Make sure every anchor is fully and firmly in the ground before you put any tension on the fabric. The construction manual of your set tells you how many anchors you need per anchoring point.
Step 5: Raise the corner posts
Attach two tension straps to each corner post and run them to the matching ground anchors. Fix the straps without tension. Then raise the corner posts and tighten the straps just enough for the posts to stay up on their own.
Step 6: Raise the side posts
Attach one tension strap to each side post. Raise the side posts and tension the straps. Make sure the edge posts lean slightly outwards: that gives the best stability.
Step 7: Install the centre poles
Put the pole cap on top of the centre pole. This is easiest with two to three people and a pole lifter. Place the centre pole on a base plate and secure it properly. Never place a centre pole on a seam: always put it in the middle of a panel of the tent fabric.
Step 8: Tension the roof
First check that all tension straps are evenly tensioned and adjust where needed. Then tighten the V-ropes: they create a slight ridge in the fabric, which improves water drainage and makes the tent more stable.
Step 9: Fit the storm straps
For long-term installations, fit the storm straps: position the strap, fix the ground anchors and put light tension on the strap, without creating wrinkles in the tent.
Step 10: Final check
Walk around the tent and check that the fabric is evenly tensioned. The poles should stand firmly on the ground at a slight angle. Tidy away loose straps and ropes to prevent wear and tripping hazards. For sidewalls, see the sidewalls page with its installation video.
Step 11: Safety and maintenance during use
- During long-term installations, check the tension regularly.
- If water collects on the roof, remove it immediately and adjust the tension or pole height where needed.
- In storms, strong winds or snow load, take the tent down immediately. The construction manual gives the maximum wind load for your tent.
- Clean the fabric with a mild, pH-neutral soap, water and a soft brush or cloth. Do not use harsh cleaning agents or a pressure washer. More in care and storage.
Step 12: Taking the tent down
Loosen the V-ropes and tension straps on the side poles and lay the groundsheet back on the ground. Take down the centre pole or poles, then the side poles, and detach the straps, ropes and carabiners. Remove the ground anchors; a stake puller makes this safer and easier. Clean the fabric and let it dry completely. Then fold the fabric and the groundsheet carefully and store everything dry in the tent bag.
Which tent fits your event?
Not sure which size you need? The size calculator shows which tent fits your number of guests, and the FAQ answers questions about wind, anchoring and fire safety. Questions about setting up your tent? Contact us.